Rest of the LFS posts can be viewed here.
Linux has been my favorite OS since 2016. Over the years, I’ve written more shell scripts than I can count, automated configurations, and hopped between countless distros. At this point, I like to think I’m pretty good at it—especially since I’m the go-to person whenever my colleagues need help.
But here’s the thing: I still feel like an impostor.
This nagging feeling isn’t due to a lack of skills or experience—it’s more about my all-or-nothing mindset that I can’t seem to escape. Unless I know how everything works down to the kernel level, I feel like I’m just scratching the surface.
That’s why I’m taking the plunge into Linux From Scratch (LFS). Building my own Linux distro feels like the perfect way to confront my inner perfectionist—and maybe prove to myself that I do have what it takes to dig deeper.
My goal is to no longer be intimidated by the kernel, and who knows—maybe the LFS distro I build will become my new favorite setup!
What to Expect
- The challenges of setting up an LFS environment
- Lessons learned while building a toolchain, compiling the kernel, and making it all work
Alright, enough talking—let’s begin.
Prerequisites
LFS assumes at least a basic level of Linux knowledge, such as listing files, navigating directories, and performing basic file operations like copying and deleting. The Prerequisites page lists a couple of articles to read first:
LFS and Standards
The structure of LFS follows Linux standards as closely as possible. The primary standards are:
- POSIX.1-2008
- Filesystem Hierarchy Standard (FHS) Version 3.0
- Linux Standard Base (LSB) Version 5.0 (2015)
The LSB has four separate specifications: Core, Desktop, Runtime Languages, and Imaging. Some parts of the Core and Desktop specifications are architecture-specific. There are also two trial specifications: Gtk3 and Graphics. LFS attempts to conform to the LSB specifications for the IA32 (32-bit x86) and AMD64 (x86_64) architectures.
Chapter 1 - How to Build an LFS System
The book instructs that the system should be built using an already-installed Linux distro. To keep things isolated from my native system, I’ll prepare a Fedora Workstation virtual machine using VirtualBox, which I can easily delete once the process is complete.
- Install VirtualBox via this link.
- Download the Fedora Workstation ISO image for Intel and AMD x86_64 systems via this link.
- Prepare the VM on VirtualBox with the requirements mentioned in the book as follows:
- Open Oracle VBox and select “New.”
- Enter the name of the VM, the folder for this new machine, and the installed Fedora ISO.
- Click “Next,” then enter 4,096 MB for the base memory (4 GB of RAM) and set 4 CPU cores, then click “Next.”
- Create a virtual hard disk, set it to 15 GB, and enable pre-allocation. Click “Next” and “Finish.”
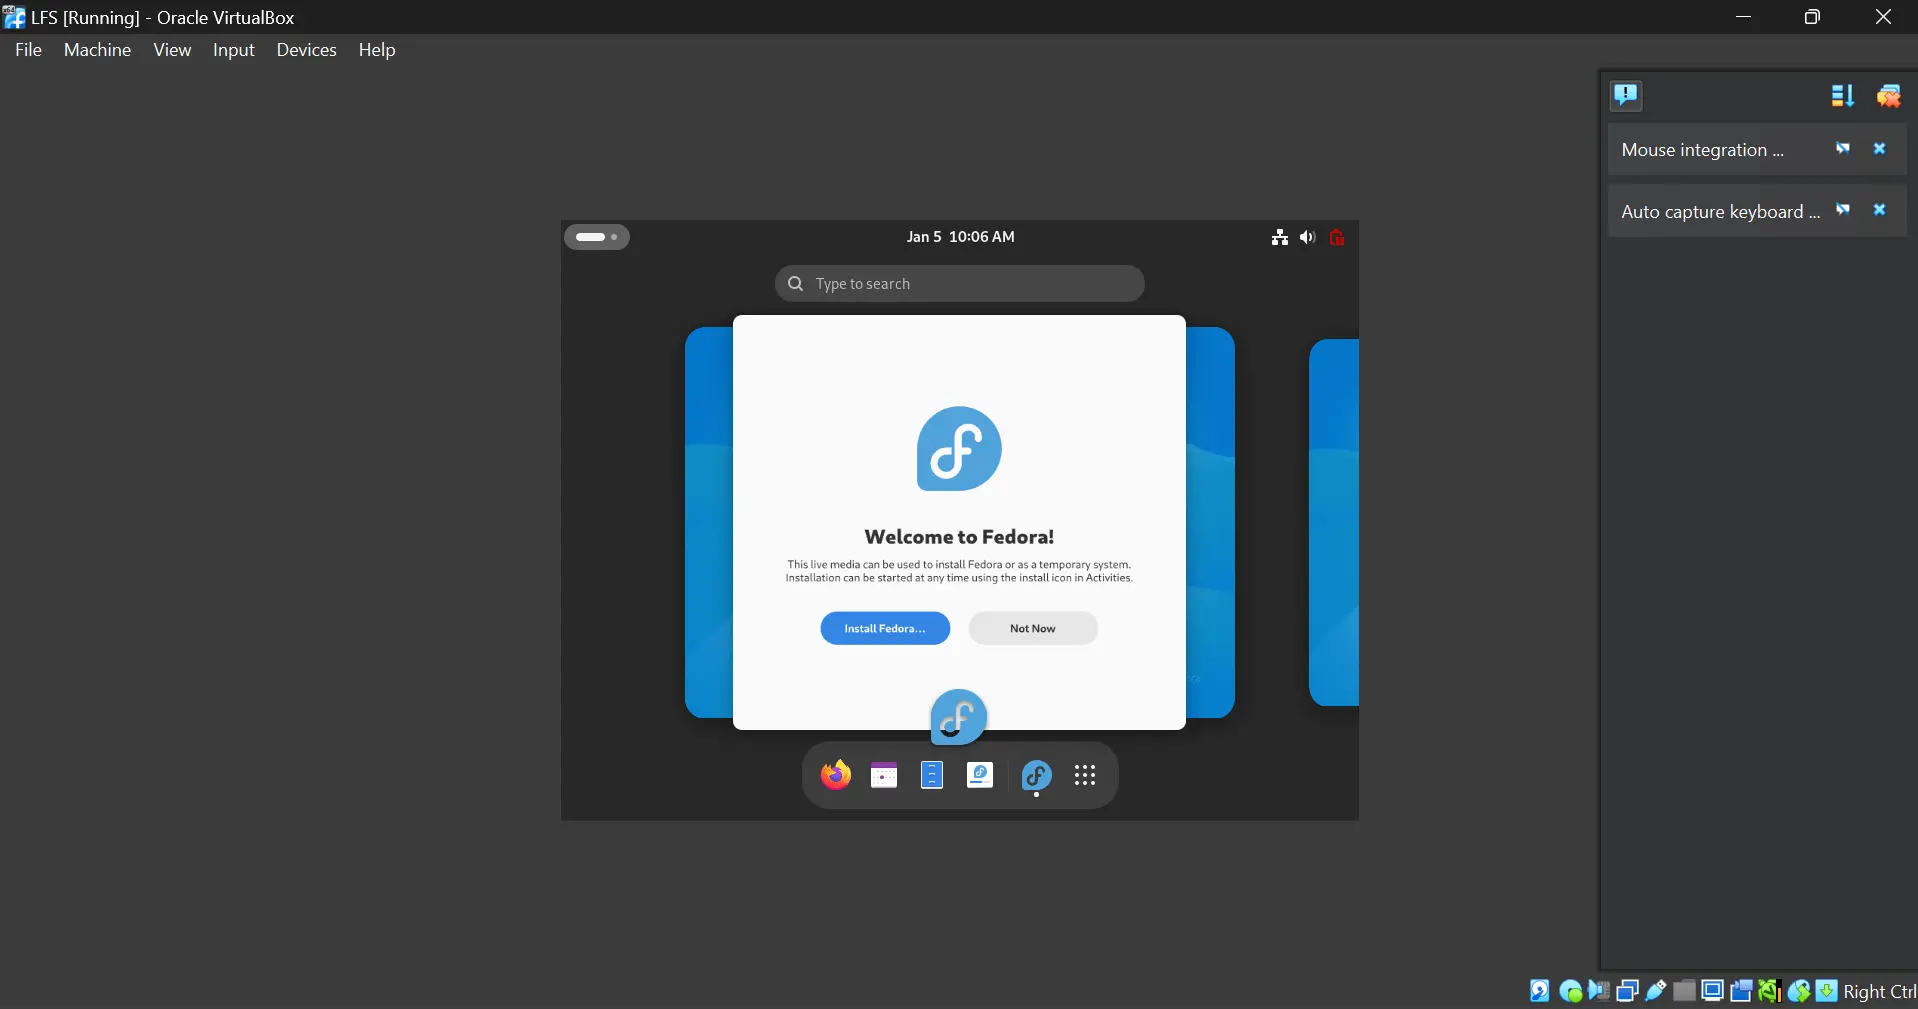
Now we have a VM with Fedora mounted, but it’s not yet installed. After clicking “Start,” we’ll be welcomed by a boot menu. Select “Start Fedora Workstation Live” to boot from the ISO live image.

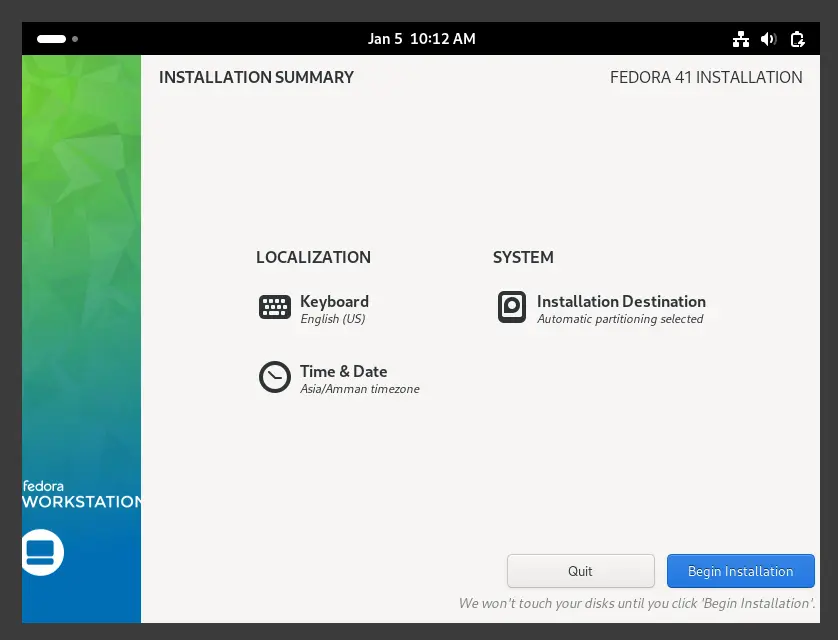
The window is small, and since we just booted into the live image, everything will be lost if the machine is powered down. To create a stable system, click “Install Fedora” to start the installation. Select your preferred keyboard layout and choose automatic partitioning. Then, click “Begin Installation.”

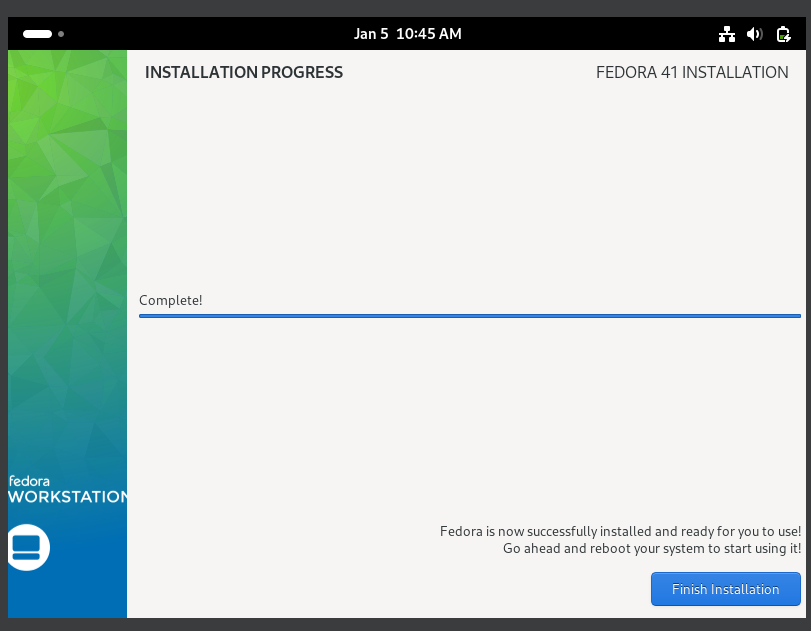
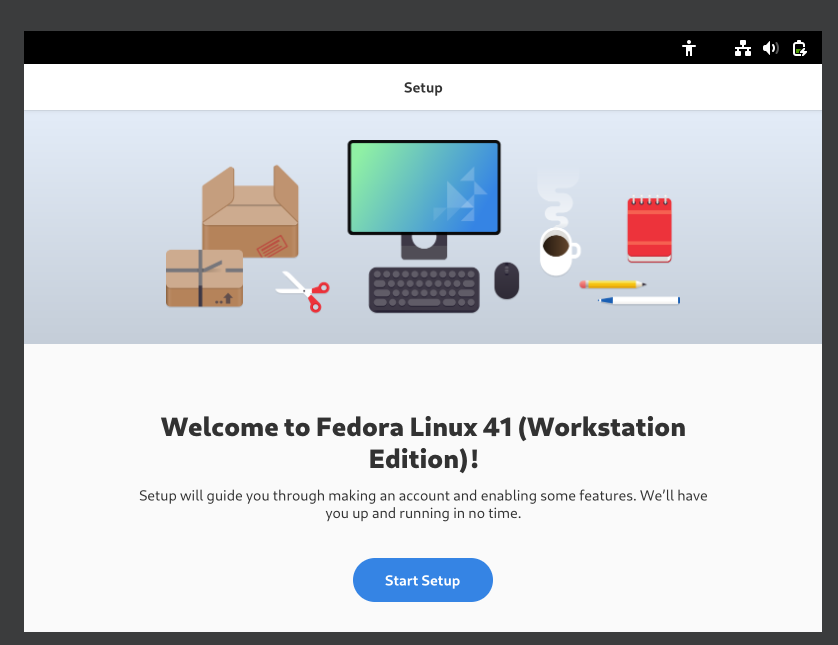
Now, let’s wait until the installation is complete. Once it’s done, click Finish Installation.

Next, unmount the ISO image from the VM since it’s no longer needed. To do this:
- Go back to VirtualBox, select the virtual machine, and click Settings > Expert > Storage > Controller: IDE.
- Select the Fedora ISO, click on the CD icon beside “Optical Drive,” and then choose Remove Disk from Virtual Drive.
Now let’s reset the VM by right-clicking and selecting Reset. Tada!

With our machine prepared, we can now move on to actually building LFS.
Chapter 2 - Preparing the Host System
In this chapter, we will prepare the host system (Fedora VM) to build LFS, we will do things like checking for the availability of certain tools, preparing a partition to host the LFS system, create a file system … etc
In section 2.2.2, we see that we require some packages to be installed:
Your host system should have the following software with the minimum versions indicated. This should not be an issue for most modern Linux distributions. Also note that many distributions will place software headers into separate packages, often in the form of
-devel or -dev. Be sure to install those if your distribution provides them. Earlier versions of the listed software packages may work, but have not been tested.
Below are the software packages required before we start, with the recommended versions and additional notes:
Bash-3.2 (/bin/sh should be a symbolic or hard link to bash)

Binutils-2.13.1 (Versions greater than 2.43.1 are not recommended as they have not been tested)

Bison-2.7 (/usr/bin/yacc should be a link to bison or a small script that executes bison)

Coreutils-8.1

Diffutils-2.8.1

Findutils-4.2.31

Gawk-4.0.1 (/usr/bin/awk should be a link to gawk)

GCC-5.2 including the C++ compiler, g++ (Versions greater than 14.2.0 are not recommended as they have not been tested). C and C++ standard libraries (with headers) must also be present so the C++ compiler can build hosted programs

Grep-2.5.1a

Gzip-1.3.12

Linux Kernel-4.19

The reason for the kernel version requirement is that we specify that version when building glibc in Chapter 5 and Chapter 8, so the workarounds for older kernels are not enabled and the compiled glibc is slightly faster and smaller. As at Feb 2024, 4.19 is the oldest kernel release still supported by the kernel developers. Some kernel releases older than 4.19 may be still supported by third-party teams, but they are not considered official upstream kernel releases; read https://kernel.org/category/releases.html for the details.

If the host kernel is earlier than 4.19 you will need to replace the kernel with a more up-to-date version. There are two ways you can go about this. First, see if your Linux vendor provides a 4.19 or later kernel package. If so, you may wish to install it. If your vendor doesn't offer an acceptable kernel package, or you would prefer not to install it, you can compile a kernel yourself. Instructions for compiling the kernel and configuring the boot loader (assuming the host uses GRUB) are located in Chapter 10.

We require the host kernel to support UNIX 98 pseudo terminal (PTY). It should be enabled on all desktop or server distros shipping Linux 4.19 or a newer kernel. If you are building a custom host kernel, ensure CONFIG_UNIX98_PTYS is set to y in the kernel configuration.

M4-1.4.10

Make-4.0

Patch-2.5.4

Perl-5.8.8

Python-3.4

Sed-4.1.5

Tar-1.22

Texinfo-5.0

Xz-5.0.0
In the package names above we find some notes related to symbolic links, untested packages and more, for now I will run the provided script which automates the packages checkup here:
cat > version-check.sh << "EOF"
#!/bin/bash
# A script to list version numbers of critical development tools

# If you have tools installed in other directories, adjust PATH here AND
# in ~lfs/.bashrc (section 4.4) as well.

LC_ALL=C
PATH=/usr/bin:/bin

bail() { echo "FATAL: $1"; exit 1; }
grep --version > /dev/null 2> /dev/null || bail "grep does not work"
sed '' /dev/null || bail "sed does not work"
sort   /dev/null || bail "sort does not work"

ver_check()
{
   if ! type -p $2 &>/dev/null
   then
     echo "ERROR: Cannot find $2 ($1)"; return 1;
   fi
   v=$($2 --version 2>&1 | grep -E -o '[0-9]+\.[0-9\.]+[a-z]*' | head -n1)
   if printf '%s\n' $3 $v | sort --version-sort --check &>/dev/null
   then
     printf "OK:    %-9s %-6s >= $3\n" "$1" "$v"; return 0;
   else
     printf "ERROR: %-9s is TOO OLD ($3 or later required)\n" "$1";
     return 1;
   fi
}

ver_kernel()
{
   kver=$(uname -r | grep -E -o '^[0-9\.]+')
   if printf '%s\n' $1 $kver | sort --version-sort --check &>/dev/null
   then
     printf "OK:    Linux Kernel $kver >= $1\n"; return 0;
   else
     printf "ERROR: Linux Kernel ($kver) is TOO OLD ($1 or later required)\n" "$kver";
     return 1;
   fi
}

# Coreutils first because --version-sort needs Coreutils >= 7.0
ver_check Coreutils      sort     8.1 || bail "Coreutils too old, stop"
ver_check Bash           bash     3.2
ver_check Binutils       ld       2.13.1
ver_check Bison          bison    2.7
ver_check Diffutils      diff     2.8.1
ver_check Findutils      find     4.2.31
ver_check Gawk           gawk     4.0.1
ver_check GCC            gcc      5.2
ver_check "GCC (C++)"    g++      5.2
ver_check Grep           grep     2.5.1a
ver_check Gzip           gzip     1.3.12
ver_check M4             m4       1.4.10
ver_check Make           make     4.0
ver_check Patch          patch    2.5.4
ver_check Perl           perl     5.8.8
ver_check Python         python3  3.4
ver_check Sed            sed      4.1.5
ver_check Tar            tar      1.22
ver_check Texinfo        texi2any 5.0
ver_check Xz             xz       5.0.0
ver_kernel 4.19

if mount | grep -q 'devpts on /dev/pts' && [ -e /dev/ptmx ]
then echo "OK:    Linux Kernel supports UNIX 98 PTY";
else echo "ERROR: Linux Kernel does NOT support UNIX 98 PTY"; fi

alias_check() {
   if $1 --version 2>&1 | grep -qi $2
   then printf "OK:    %-4s is $2\n" "$1";
   else printf "ERROR: %-4s is NOT $2\n" "$1"; fi
}
echo "Aliases:"
alias_check awk GNU
alias_check yacc Bison
alias_check sh Bash

echo "Compiler check:"
if printf "int main(){}" | g++ -x c++ -
then echo "OK:    g++ works";
else echo "ERROR: g++ does NOT work"; fi
rm -f a.out

if [ "$(nproc)" = "" ]; then
   echo "ERROR: nproc is not available or it produces empty output"
else
   echo "OK: nproc reports $(nproc) logical cores are available"
fi
EOF

bash version-check.sh
After running it on my machine we get:
lfs@vbox:~$ bash version-check.sh
OK:    Coreutils 9.5    >= 8.1
OK:    Bash      5.2.32 >= 3.2
OK:    Binutils  2.43.1 >= 2.13.1
ERROR: Cannot find bison (Bison)
OK:    Diffutils 3.10   >= 2.8.1
OK:    Findutils 4.10.0 >= 4.2.31
OK:    Gawk      5.3.0  >= 4.0.1
ERROR: Cannot find gcc (GCC)
ERROR: Cannot find g++ (GCC (C++))
OK:    Grep      3.11   >= 2.5.1a
OK:    Gzip      1.13   >= 1.3.12
ERROR: Cannot find m4 (M4)
ERROR: Cannot find make (Make)
ERROR: Cannot find patch (Patch)
OK:    Perl      5.40.0 >= 5.8.8
OK:    Python    3.13.0 >= 3.4
OK:    Sed       4.9    >= 4.1.5
OK:    Tar       1.35   >= 1.22
ERROR: Cannot find texi2any (Texinfo)
OK:    Xz        5.6.2  >= 5.0.0
OK:    Linux Kernel 6.11.4 >= 4.19
OK:    Linux Kernel supports UNIX 98 PTY
Aliases:
OK:    awk  is GNU
ERROR: yacc is NOT Bison
OK:    sh   is Bash
Compiler check:
version-check.sh: line 81: g++: command not found
ERROR: g++ does NOT work
OK: nproc reports 4 logical cores are available
lfs@vbox:~$
We immediately notice missing packages:
bison
gcc
g++
m4
make
patch
texi2any
And missing symbolic links:
ERROR: yacc is NOT Bison
So I’ll install the missing packages one by one:
sudo dnf install bison gcc g++ m4 make patch texi2any
Now let’s create the missing bison symlink, as per the requirements:
Bison-2.7 (/usr/bin/yacc should be a link to bison or a small script that executes bison)
So we need /usr/bin/yacc to point to Bison binary, first let’s find where Bison is:
lfs@vbox:~$ which bison
/usr/bin/bison
lfs@vbox:~$
So the command should be like:
ln -s /usr/bin/bison /usr/bin/yacc
Now the script is successful:
lfs@vbox:~$ bash version-check.sh
OK:    Coreutils 9.5    >= 8.1
OK:    Bash      5.2.32 >= 3.2
OK:    Binutils  2.43.1 >= 2.13.1
OK:    Bison     3.8.2  >= 2.7
OK:    Diffutils 3.10   >= 2.8.1
OK:    Findutils 4.10.0 >= 4.2.31
OK:    Gawk      5.3.0  >= 4.0.1
OK:    GCC       14.2.1 >= 5.2
OK:    GCC (C++) 14.2.1 >= 5.2
OK:    Grep      3.11   >= 2.5.1a
OK:    Gzip      1.13   >= 1.3.12
OK:    M4        1.4.19 >= 1.4.10
OK:    Make      4.4.1  >= 4.0
OK:    Patch     2.7.6  >= 2.5.4
OK:    Perl      5.40.0 >= 5.8.8
OK:    Python    3.13.0 >= 3.4
OK:    Sed       4.9    >= 4.1.5
OK:    Tar       1.35   >= 1.22
OK:    Texinfo   7.1    >= 5.0
OK:    Xz        5.6.2  >= 5.0.0
OK:    Linux Kernel 6.11.4 >= 4.19
OK:    Linux Kernel supports UNIX 98 PTY
Aliases:
OK:    awk  is GNU
OK:    yacc is Bison
OK:    sh   is Bash
Compiler check:
OK:    g++ works
OK: nproc reports 4 logical cores are available
So we can proceed with the next sections.
Section 2.3. Building LFS in Stages
This section explains the step-by-step process of building a Linux From Scratch system and highlights the importance of using the correct environment and user permissions at different stages:
- Chapters 1–4: Cover the initial setup on the host system, with a key reminder to set the LFS environment variable for the root user after Section 2.4.
- Chapters 5–6: Focus on tasks performed as the “lfs” user within the mounted
/mnt/lfspartition, emphasizing the risk of accidentally installing packages on the host system. - Chapters 7–10: Describe root-level tasks, including entering the chroot environment, setting up virtual file systems, and following specific commands to ensure everything works correctly. The section stresses the need to follow all steps carefully to prevent errors or damage to the host system.
We still didn’t finish Chapter two, in the next post, I will continue my writeup, let’s see.